
Save
-27%
Out of stock
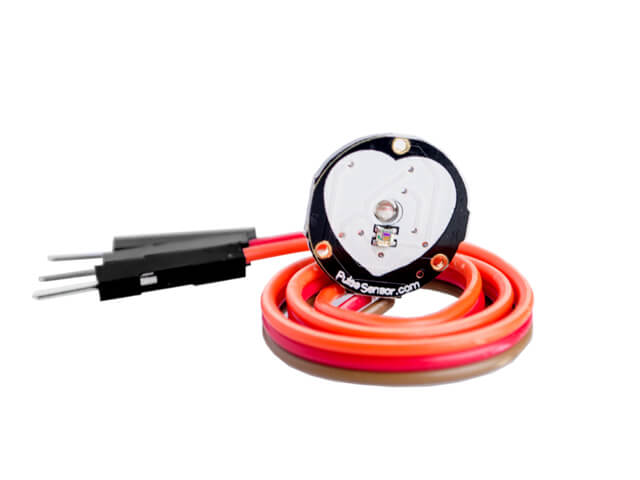
Pulse Sensor Amped Finger Heart Rate Module – 3-Pin (Male Header) + 3 Jumper Wires
Original price was: 165.00 EGP.120.00 EGPCurrent price is: 120.00 EGP.
Pulse Sensor Amped heart rate module with pre-soldered 3-pin male header plus 3 female-to-male jumper wires. Analog PPG output for Arduino/ESP. Educational, non-medical.
حساس Pulse Sensor Amped بهيدر ذكر 3 Pins ملحوم ومعه 3 أسلاك Jumper أنثى→ذكر. خرج تناظري PPG متوافق مع Arduino/ESP – استخدام تعليمي فقط.
Quantities are confirmed after reviewing
your order. Orders are normally prepared
and shipped within 3–5 business days.
Online availability does not necessarily
mean the product is currently available
at the branch.
Fast shipping
Delivery across Egypt
Flexible payment
Cash and online options
Quantity confirmation
Confirmed after order review
Technical support
Help choosing compatible parts
- Description
Description
Pulse Sensor Amped Finger Heart Rate Module – 3-Pin (Male Header) + 3 Jumper Wires
Overview
✅ The Pulse Sensor Amped heart rate module is a ready-to-prototype photoplethysmography (PPG) sensor that outputs an analog pulse waveform from fingertip or earlobe contact. This variant arrives pre-soldered with a 3-pin male header and includes 3 × female-to-male jumper wires for quick breadboard or microcontroller hookup—no soldering needed. Ideal for Arduino, ESP32, and microcontroller labs, it helps you visualize heartbeats, compute BPM (beats per minute), and experiment with basic heart-rate variability techniques in education and creative biofeedback projects.
Key Highlights
✅ Pre-soldered male header (3-pin) for plug-and-play wiring.
✅ Includes 3 jumper wires (female→male) matched to the header.
✅ Analog output compatible with most 3.3–5V microcontrollers.
✅ Compact circular PCB with onboard LED/PPG front end and anti-noise layout.
✅ Supported by open tutorials, example code, and visualizer apps.
✅ Beginner-friendly for classrooms, makers, and interactive art.
What You Can Build
🔌 BPM counters on Arduino IDE serial plotter.
🔌 Biofeedback installations that animate LEDs or sound to pulse.
🔌 Wearable prototypes (finger ring or soft strap mounting).
🔌 Data-logging to SD/CSV for basic HR trend tracking (non-medical).
🔌 Visualization dashboards using Processing/Python.
Electrical & Interface
🧠 Typical hookup uses VCC, GND, and Signal pins. The signal is an analog voltage that follows blood-volume changes picked up by the optical sensor/LED front end. Sampling at 50–500 Hz works for most demos. Use the microcontroller’s ADC and apply simple smoothing/peak detection to calculate BPM.
Pinout
- S – Analog output (to MCU analog input).
- + – VCC (3.3–5V typical).
- – – GND.
Use short leads and keep away from high-frequency noise (motors, switching supplies) for cleaner waveforms.
Safety & Intended Use
🛡️ This module is intended for education, prototyping, and hobby use only. It is not a medical device, not for diagnosis or monitoring of health conditions. Avoid use on irritated skin and clean the sensing area gently after sessions.
Setup (Arduino Example)
🧰 1) Connect S → A0, + → 5V (or 3.3V), – → GND.
2) Place the sensor face on fingertip; hold steady with light pressure.
3) Upload a simple sketch to sample analog data and detect peaks.
// Minimal BPM demo for Pulse Sensor Amped (educational use only)
const int sensorPin = A0;
unsigned long lastBeat = 0; // ms
int threshold = 520;        // adjust per setup
int bpm = 0;

void setup(){
  Serial.begin(115200);
}

void loop(){
  int val = analogRead(sensorPin);
  static bool armed = true;
  if(armed && val > threshold){
    unsigned long now = millis();
    unsigned long ibi = now - lastBeat; // inter-beat interval
    if(lastBeat > 0 && ibi > 250 && ibi < 2000){
      bpm = 60000 / ibi;
      Serial.print("BPM:\t");
      Serial.println(bpm);
    }
    lastBeat = now;
    armed = false;
  }
  if(val < threshold - 30) armed = true; // hysteresis
  delay(2); // ~500 Hz / 2ms sample step
}
Performance Tips
⚙️ ✅ Rest your hand on a table; too much pressure or movement injects noise.
✅ Use a low-noise 5V/3.3V source; add an RC filter or moving average in code.
✅ Try different body sites (finger, earlobe) and adjust the threshold.
✅ For 3.3V boards, keep ADC reference consistent to avoid scaling drift.
✅ Use soft straps or medical-grade tape for repeatable contact during demos.
What’s in the Box
📦 1 × Pulse Sensor Amped board with 3-pin male header pre-soldered.
📦 3 × jumper wires (female-to-male) color-coded to the pins.
Specifications
| Parameter | Value |
|---|---|
| Model | Pulse Sensor Amped (pre-soldered header) |
| Sensing Method | Optical PPG (reflective) |
| Output | Analog voltage (pulse waveform) |
| Supply Voltage | 3.3–5V (typical) |
| Interface Pins | S (signal), + (VCC), – (GND) |
| Cable | 3 × female→male jumper wires included |
| Board | Circular PCB with integrated LED/photodiode front end |
| Sampling | 50–500 Hz recommended (via MCU ADC) |
| Mounting | Finger/earlobe with tape or soft strap |
| Intended Use | Educational/prototyping—not medical |
Integration Notes
🧩 Combine with OLED/NeoPixel rings for live bio-visuals. Log with micro SD or stream via BLE from an ESP32. For project enclosures, ensure a cut-out aperture over the sensing window and reduce ambient light leaks.
Troubleshooting
🧠 Flatline: Check polarity and ensure skin contact; try a different finger.
🧠 Noisy trace: Reduce motion, add code filtering, or shield from ambient light.
🧠 BPM jumps: Add debouncing on peak detection and clamp IBI limits (e.g., 40–200 BPM).
Compliance & Care
♻️ Observe ESD care when handling. Wipe the sensor face gently with isopropyl alcohol after sessions. Store the board and jumper set in a small anti-static pouch.
Heart rate sensor, PPG finger sensor, Arduino pulse sensor, biofeedback sensor, analog heart sensor.
Pulse Sensor Amped, PulseSensor Amped, PPG heart rate module, analog pulse sensor, pulse waveform sensor, BPM sensor, heart beat sensor module, pulse input S+–.
حساس نبض القلب Pulse Sensor Amped – هيدر ذكر 3 بن ملحوم + 3 أسلاك Jumper أنثى إلى ذكر
نظرة عامة
✅ Pulse Sensor Amped هو حساس نبض بصري PPG جاهز للتوصيل الفوري يعطي خرجًا تناظريًا يمثل موجة النبض من الإصبع أو شحمة الأذن. هذه النسخة تأتي ببن هيدر ذكر 3 Pins ملحوم مسبقًا ومعها 3 أسلاك Jumper أنثى إلى ذكر للتوصيل المباشر مع الأردوينو أو المتحكمات بدون لحام، مثالية للتجارب التعليمية ومشاريع البيوفيدباك وعرض BPM.
المزايا الرئيسية
✅ هيدر ذكر 3 Pins ملحوم لتوصيل سريع.
✅ يتضمن 3 أسلاك Jumper (أنثى→ذكر) ملونة.
✅ خرج تناظري ومتوافق مع متحكمات 3.3–5 فولت.
✅ لوحة دائرية مدمجة بمخطط تقليل الضوضاء.
✅ شروحات وأكواد وأدوات عرض مجانية على الإنترنت.
✅ مناسب للمبتدئين والفصول الدراسية.
تطبيقات ممكنة
🔌 عداد نبض BPM على Arduino.
🔌 عروض بصرية/صوتية متزامنة مع النبض.
🔌 نماذج قابلة للارتداء بحزام بسيط.
🔌 تسجيل بيانات لقراءات غير طبية.
🔌 لوحات عرض بـ Processing أو Python.
التوصيل السريع
🧠 الأرجل الثلاثة: S (إشارة)، + (VCC)، – (GND). أوصل الإشارة بمدخل Analog في المتحكم واقرأها بمعدل 50–500 هرتز. استخدم فلترة بسيطة وكشف قمم لحساب BPM.
أمان واستخدام
🛡️ للاستخدام التعليمي والهواية فقط—ليس جهازًا طبيًا. لا يُستخدم للتشخيص. تجنّب الضغط القوي والحركة الزائدة ونظّف سطح الحساس بعد الاستخدام.
مثال أردوينو سريع
// قراءة نبض مبدئية (تعليمي فقط)
const int pinS = A0; int bpm=0; int thr=520; unsigned long t0=0; bool arm=true;
void setup(){Serial.begin(115200);}
void loop(){int v=analogRead(pinS); if(arm && v>thr){unsigned long t=millis();
 if(t0>0){unsigned long ibi=t-t0; if(ibi>250 && ibi<2000) bpm=60000/ibi;}
 t0=t; arm=false; Serial.println(bpm);} if(v<thr-30) arm=true; delay(2);}
نصائح أداء
⚙️ ✅ اسند اليد على سطح ثابت وقلّل الضوء المحيط.
✅ استخدم مصدر طاقة نظيف 3.3/5 فولت وفلترة برمجية.
✅ جرّب الإصبع أو شحمة الأذن واضبط العتبة في الكود.
✅ ثبّت اللوحة بشريط ناعم لقراءات متكررة.
المحتويات
📦 لوحة Pulse Sensor Amped بهيدر ذكر 3 Pins ملحوم.
📦 3× أسلاك Jumper أنثى→ذكر.
📄 روابط بدء سريع في Attachments.
المواصفات
| البند | القيمة |
|---|---|
| الموديل | Pulse Sensor Amped (pre-soldered header) |
| طريقة الاستشعار | PPG بصري (انعكاسي) |
| الخرج | جهد تناظري (موجة نبض) |
| الجهد التشغيلي | 3.3–5 فولت |
| الأرجل | S للإشارة، + للتغذية، – للأرضي |
| الأسلاك المرفقة | 3 Jumper أنثى→ذكر |
| التثبيت | إصبع/شحمة أذن بشريط لاصق |
| الغرض | تعليمي/هواية – غير طبي |
دمج المشاريع
🧩 اربط مع NeoPixel/OLED لعرض تفاعلي، أو سجّل إلى بطاقة microSD، أو ابعث البيانات بالبلوتوث عبر ESP32.
استكشاف الأعطال
🧠 خط مستقيم: تحقق من القطبية والملامسة.
🧠 ضوضاء: خفّف الحركة، أضف فلترة، أو احجب الضوء المحيط.
🧠 قفزات BPM: وسّع فلترة القمم وحدود IBI.
العناية والتوافق
♻️ نظّف سطح الحساس بالكحول الطبي بلطف، واحفظه في كيس مضاد للكهرباء الاستاتيكية مع الأسلاك.
Attachments
- Getting Started PDF: https://cdn.shopify.com/s/files/1/0672/9409/files/PulseSensorAmpedGettingStartedGuide.pdf
- Schematic PDF: https://cdn.shopify.com/s/files/1/0672/9409/files/PulseSensorAmpd_-_Schematic.pdf
- Demo video: https://youtu.be/xu4lg4AdRnk
| PulseSensor.com, SunFounder, DFRobot, Keyestudio, Seeed Studio, Waveshare | pulse sensor, heart rate sensor, PPG sensor, Arduino heart sensor, analog pulse module | BPM, HRV demo, photoplethysmography, biofeedback, biomedical sensor, S pin, signal filtering |
pulse sensor, heart rate sensor, PPG, BPM, Arduino, ESP32, analog sensor, 3-pin header, jumper wir
🔤 حساس نبض، حساس قلب أردوينو، حساس PPG، حساس BPM، حساس نبضة تناظري.
Pulse Sensor، Pulse Sensor Amped، Heart Rate PPG Sensor، Analog Pulse Sensor، Arduino Heart Sensor، PPG Module S/+/–.
Related Products

Biometric/ECG/EMG Sensor
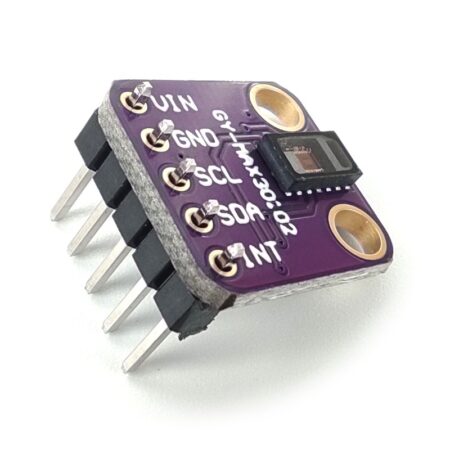
MAX30100 Heart Rate Module Purple
Original price was: 250.00 EGP.190.00 EGPCurrent price is: 190.00 EGP.
Biometric/ECG/EMG Sensor
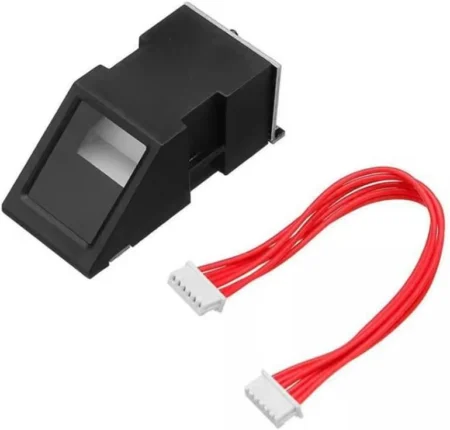
DY50 Fingerprint Reader Sensor Optical Fingerprint Module for Arduino
Original price was: 1,200.00 EGP.750.00 EGPCurrent price is: 750.00 EGP.
Biometric/ECG/EMG Sensor، .Black Friday 🏷️، ❤️ Big Discount Days..!💲🏷️Electronics Sales
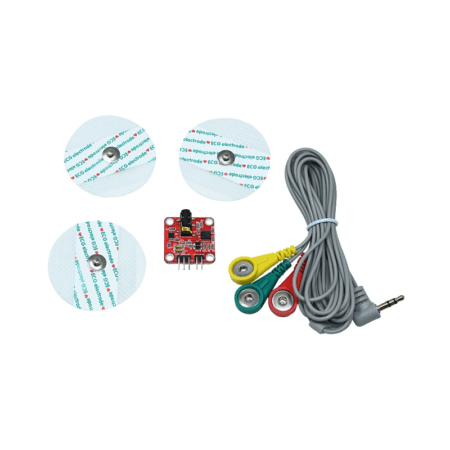
Advance Technologies EMG Muscle Sensor V3.0 With Cable And Electrodes
Original price was: 1,700.00 EGP.1,200.00 EGPCurrent price is: 1,200.00 EGP.
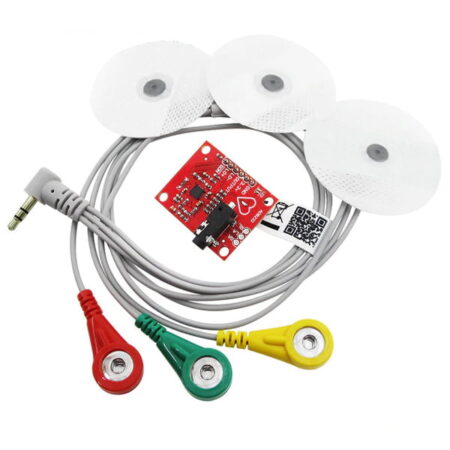
❤️ Big Discount Days..!💲🏷️Electronics Sales، Biometric/ECG/EMG Sensor
Heart Rate Monitor Kit with AD8232 ECG sensor Module
Original price was: 440.00 EGP.345.00 EGPCurrent price is: 345.00 EGP.
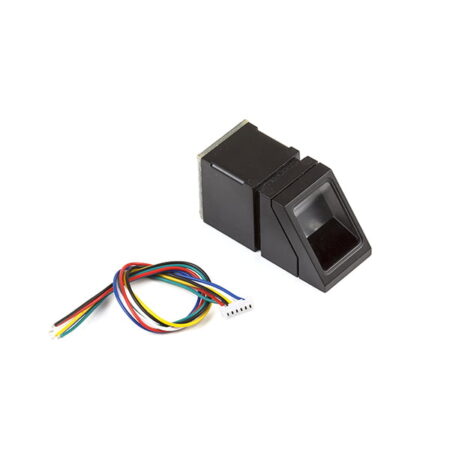
Biometric/ECG/EMG Sensor
R307 Optical Fingerprint Reader Sensor Module
Original price was: 1,200.00 EGP.900.00 EGPCurrent price is: 900.00 EGP.

Biometric/ECG/EMG Sensor
MAX30100 Pulse Oximeter Heart Rate Sensor Module
Original price was: 110.00 EGP.95.00 EGPCurrent price is: 95.00 EGP.