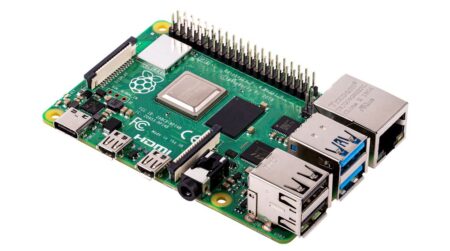
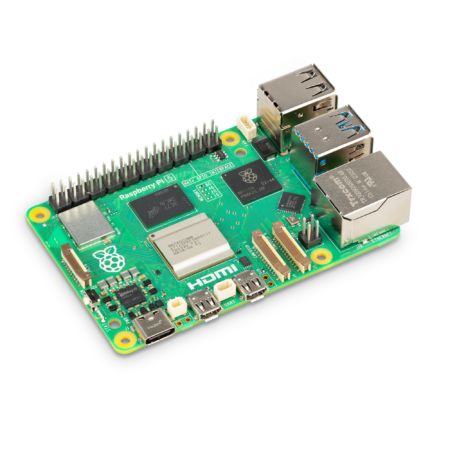
Raspberry Pi 4 Model B with 2 GB RAM
Original price was: 7,000.00 EGP.5,600.00 EGPCurrent price is: 5,600.00 EGP.
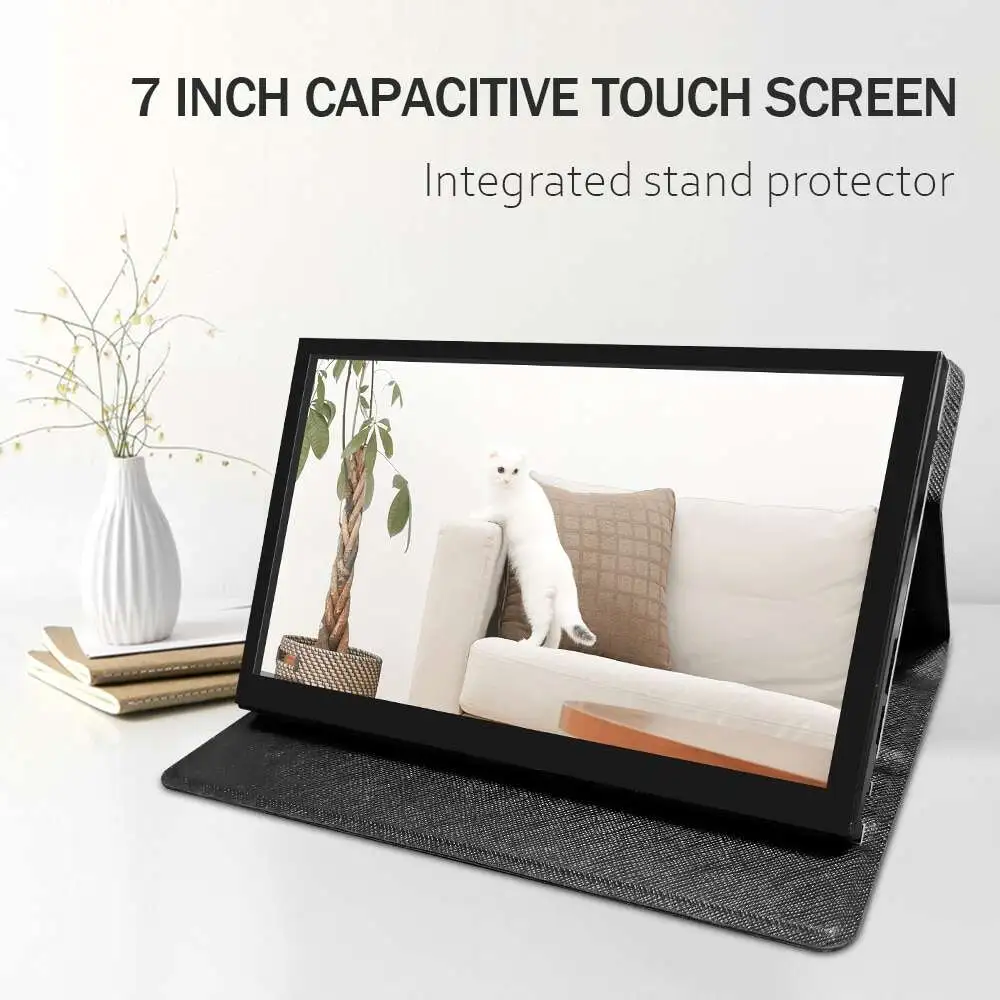
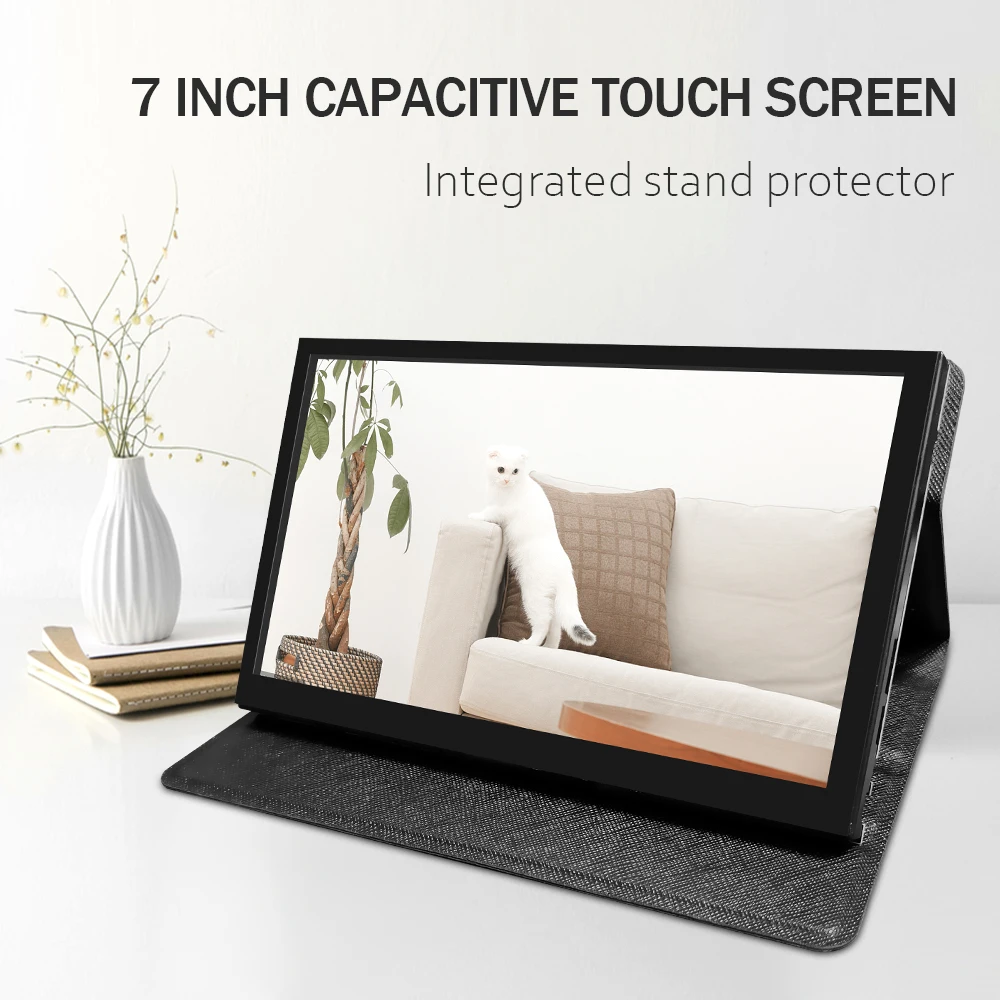
Raspberry Pi Screen 7 inch HDMI Touch Screen 1024×600 with Portable Case
Raspberry Pi Screen 7 inch HDMI Touch Screen 1024×600 with Portable Case
Product Description:
Standard 7-inch screen, hardware resolution 1024 x 600
Capacitive touch screen, maximum support 5-point touch screen.
Support backlight control alone, the backlight can be turned off to save power.
Support Raspberry Pi and other mainstream mini PC.
Can be used for general-purpose use of HDMI monitor, for example: connect with computer HDMI as sub-display.
Used as a Raspberry Pi screen that supports Raspbian, Ubuntu, Kali Linux, Kodi, win10 IOT, one touch, free drive.
Work as a PC monitor, support win7, win8, win10 5 point touch system (XP and old version system: one touch),
Product Parameters:
Size: 7.0 (inch)
Resolution: 1024 x 600
Touch: Five-point capacitive touch.
Dimensions: 166.5 x 10⁴ (mm)
How to use with Ubuntu Mate/Win10 IoT platform
Step 1,
install the official Raspbian image
Download the latest image from the official download.
Install the system according to the official tutorial steps.
Step 2,
Modify ‘Configure. Txt
After completing Step1 programming, open the config.txt file from the TF card root directory and
Add the following code at the end of the file, save and safely eject the micro SD card: max_usb_today = 1
hdmi_force_hotplug = 1
Config_hdmi_boost = 7
hdmi_group = 2
hdmi_mode = 87
hdmi_drive = 1
Display_rotate = 0
hdmi_cvt 1024 600 60 6 0 0 0
Step 3,
Drive 7-inch HDMI JRP7006 with Raspberry Pi
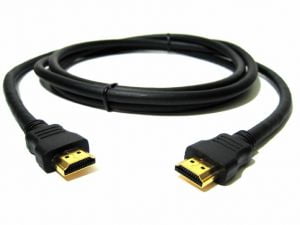
Insert the TF card to the Raspberry Pi, and connect the Raspberry Pi and the LCD by an HDMI cable.
Connect the USB cable to one of the four USB ports of the Raspberry Pi, and connect the other end of the USB cable to the USB port of the LCD;
Then supply power to Raspberry Pi; After that if the screen and touch are both ok, it means the drive is successful (please use the full 2A for power supply).
How to use a PC monitor
Connect the computer’s HDMI output signal to the HDMI LCD interface using an HDMI cable
Connect the USB touch interface (i.e. of the implant) to the USB port of the device
If there are many monitors, please separate the connectors of other monitors first, and use the LCD as a monitor only for testing.





Tell us what you are building and we will help you find suitable components, modules, development boards and tools from our available range.