
Save
-20%
Out of stock
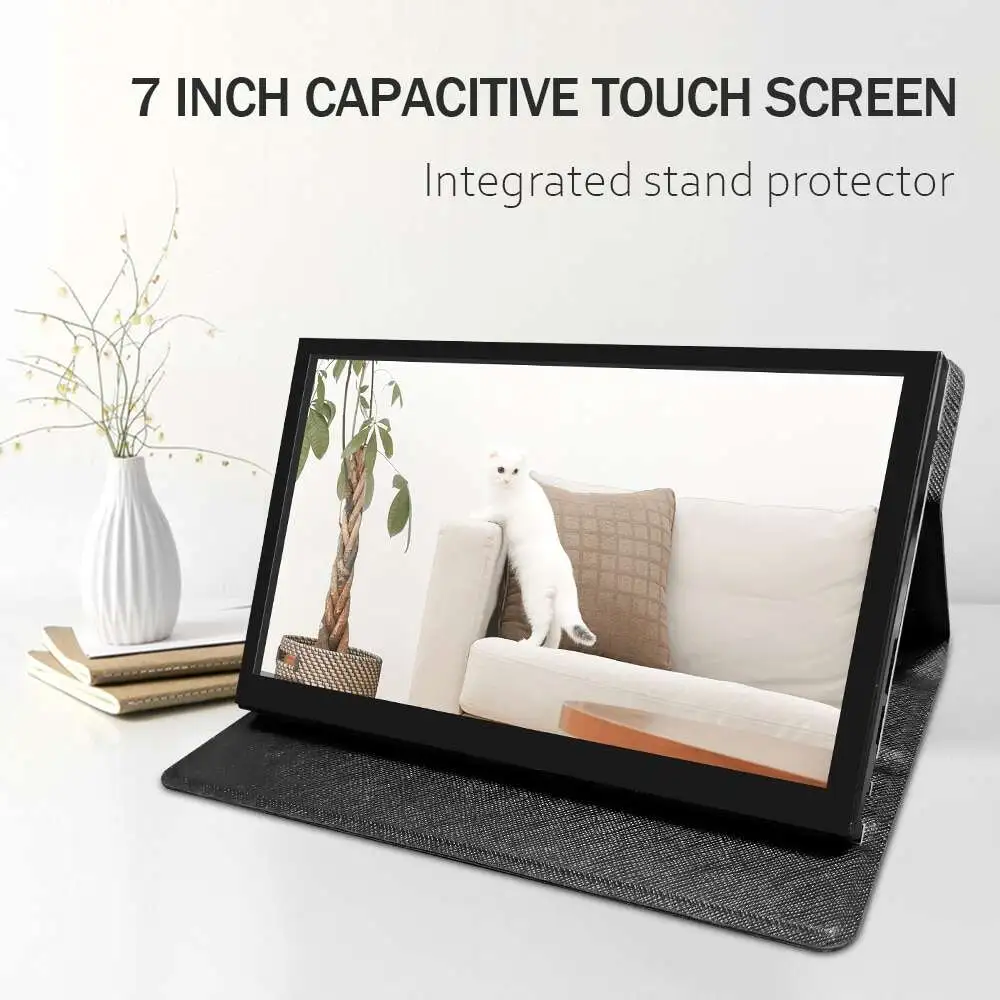
Raspberry Pi Screen 7 inch HDMI Touch Screen LCD 1024×600 with Portable Case
Original price was: 5,000.00 EGP.4,000.00 EGPCurrent price is: 4,000.00 EGP.
Raspberry Pi Screen 7 inch HDMI Touch Screen 1024×600 with Portable Case
Quantities are confirmed after reviewing
your order. Orders are normally prepared
and shipped within 3–5 business days.
Online availability does not necessarily
mean the product is currently available
at the branch.
تأكيد الكميات بيتم بعد مراجعة الأوردر،
وتجهيز وشحن الطلب بيستغرق عادة من
3 إلى 5 أيام عمل.
توافر المنتج على الموقع لا يعني بالضرورة
توافره داخل الفرع، لذلك اعمل الأوردر
مسبقًا لتأكيد الكمية وتجهيزه.
Fast shipping
Delivery across Egypt
Flexible payment
Cash and online options
Quantity confirmation
Confirmed after order review
Technical support
Help choosing compatible parts
- Description
Description
Raspberry Pi Screen 7 inch HDMI Touch Screen 1024×600 with Portable Case
Product Description:
Standard 7-inch screen, hardware resolution 1024 x 600
Capacitive touch screen, maximum support 5-point touch screen.
Support backlight control alone, the backlight can be turned off to save power.
Support Raspberry Pi and other mainstream mini PC.
Can be used for general-purpose use of HDMI monitor, for example: connect with computer HDMI as sub-display.
Used as a Raspberry Pi screen that supports Raspbian, Ubuntu, Kali Linux, Kodi, win10 IOT, one touch, free drive.
Work as a PC monitor, support win7, win8, win10 5 point touch system (XP and old version system: one touch),
Product Parameters:
Size: 7.0 (inch)
Resolution: 1024 x 600
Touch: Five-point capacitive touch.
Dimensions: 166.5 x 10⁴ (mm)
How to use with Ubuntu Mate/Win10 IoT platform
Step 1,
install the official Raspbian image
Download the latest image from the official download.
Install the system according to the official tutorial steps.
Step 2,
Modify ‘Configure. Txt
After completing Step1 programming, open the config.txt file from the TF card root directory and
Add the following code at the end of the file, save and safely eject the micro SD card: max_usb_today = 1
hdmi_force_hotplug = 1
Config_hdmi_boost = 7
hdmi_group = 2
hdmi_mode = 87
hdmi_drive = 1
Display_rotate = 0
hdmi_cvt 1024 600 60 6 0 0 0
Step 3,
Drive 7-inch HDMI JRP7006 with Raspberry Pi
Insert the TF card to the Raspberry Pi, and connect the Raspberry Pi and the LCD by an HDMI cable.
Connect the USB cable to one of the four USB ports of the Raspberry Pi, and connect the other end of the USB cable to the USB port of the LCD;
Then supply power to Raspberry Pi; After that if the screen and touch are both ok, it means the drive is successful (please use the full 2A for power supply).
How to use a PC monitor
Connect the computer’s HDMI output signal to the HDMI LCD interface using an HDMI cable
Connect the USB touch interface (i.e. of the implant) to the USB port of the device
If there are many monitors, please separate the connectors of other monitors first, and use the LCD as a monitor only for testing.


Related Products
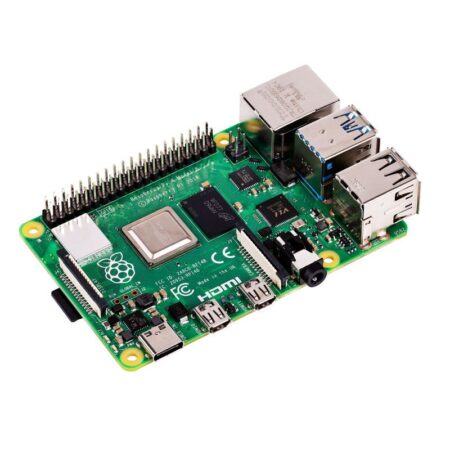
Raspberry Pi 4 Model-B with 4 GB RAM
Original price was: 8,000.00 EGP.7,400.00 EGPCurrent price is: 7,400.00 EGP.
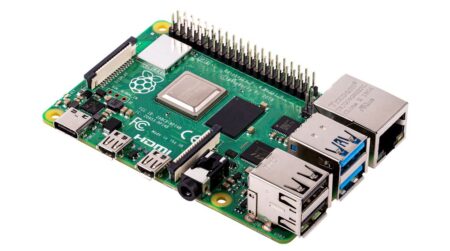
Raspberry Pi 4 Model B with 2 GB RAM
Original price was: 7,000.00 EGP.5,600.00 EGPCurrent price is: 5,600.00 EGP.

Raspberry Pi 4 USB Adapter 5V 3A EU Plug Type C
Original price was: 350.00 EGP.290.00 EGPCurrent price is: 290.00 EGP.
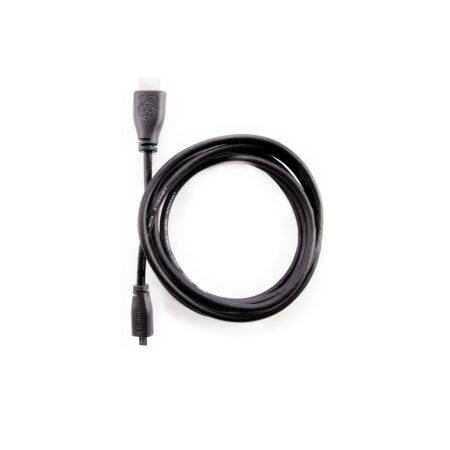
Official Micro-HDMI (Male) to Standard HDMI (Male) Black Cable-2m for Raspberry Pi
Original price was: 350.00 EGP.300.00 EGPCurrent price is: 300.00 EGP.

Mini Breadboard 170 pin SYB-170 170 pts
Original price was: 15.00 EGP.10.00 EGPCurrent price is: 10.00 EGP.
Products With Similar Tags
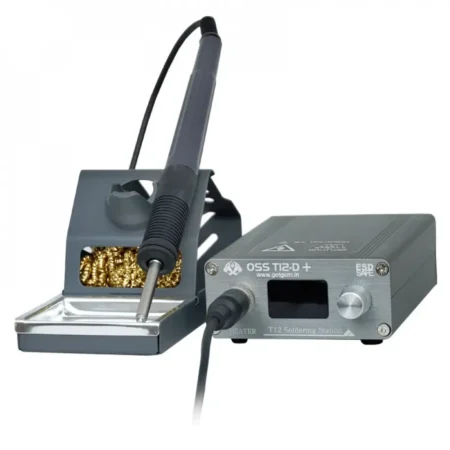
OSS Soldering Station T12-D+ 72W (Digital Display, T12 Cartridges, Rapid Heat-Up)
Original price was: 3,200.00 EGP.2,500.00 EGPCurrent price is: 2,500.00 EGP.
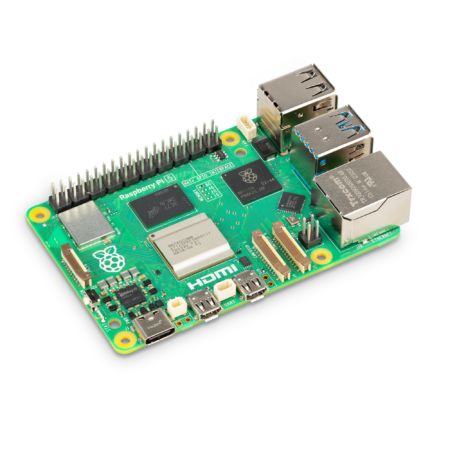
Raspberry Pi 5 Model 4GB
Original price was: 10,500.00 EGP.9,900.00 EGPCurrent price is: 9,900.00 EGP.
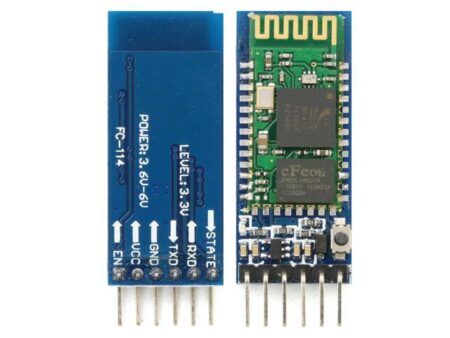
HC-05 6pin Bluetooth Module with Button
Original price was: 270.00 EGP.215.00 EGPCurrent price is: 215.00 EGP.
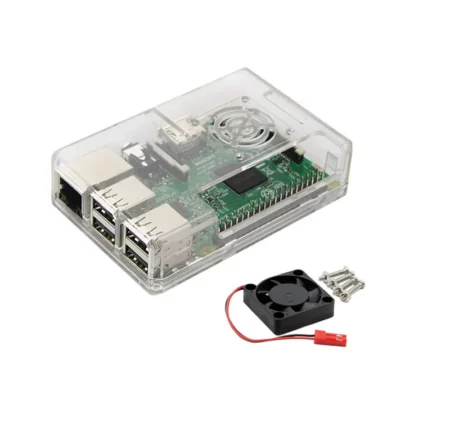
Raspberry Pi 5 Clear Plastic Case with Cooling Fan – Board Not Included
Original price was: 350.00 EGP.300.00 EGPCurrent price is: 300.00 EGP.

Okdo Lidar HAT Module with Bracket Development Kit for LiDAR_LD06 Raspberry Pi SBC
Original price was: 5,000.00 EGP.4,500.00 EGPCurrent price is: 4,500.00 EGP.
220V / 110V 60W Adjustable Temperature Electric Adjustable Soldering Iron
Original price was: 250.00 EGP.200.00 EGPCurrent price is: 200.00 EGP.
Raspberry Pi 4 Model B with 2 GB RAM
Original price was: 7,000.00 EGP.5,600.00 EGPCurrent price is: 5,600.00 EGP.
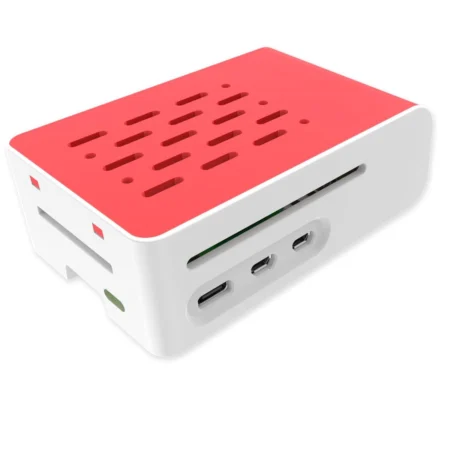
Red and White ABS Case for Raspberry Pi 5 (Without Fan and Board)
Original price was: 250.00 EGP.180.00 EGPCurrent price is: 180.00 EGP.
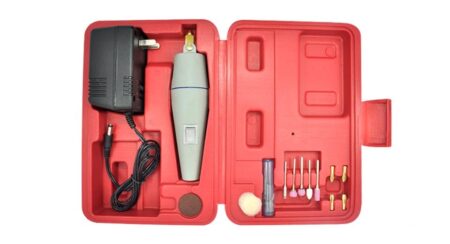
WL-500 Mini Electric Drill
Original price was: 700.00 EGP.600.00 EGPCurrent price is: 600.00 EGP.
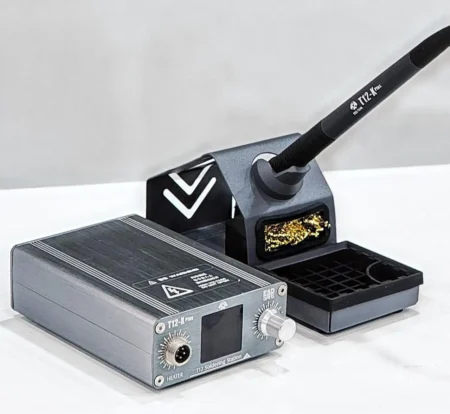
OSS Soldering Station T12X+ 72W (Digital Display, T12 Cartridges, Rapid Heat-Up, 1 Tip Included)
Original price was: 3,500.00 EGP.2,800.00 EGPCurrent price is: 2,800.00 EGP.
Raspberry Pi 4 Model-B with 4 GB RAM
Original price was: 8,000.00 EGP.7,400.00 EGPCurrent price is: 7,400.00 EGP.
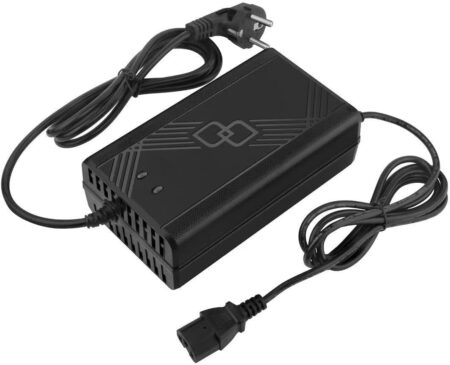
HOPSON MC-7200 – 72V 3A Scooter Battery Charger (EU Plug, 3‑Pin DC Output) for 20Ah Packs
Original price was: 750.00 EGP.700.00 EGPCurrent price is: 700.00 EGP.