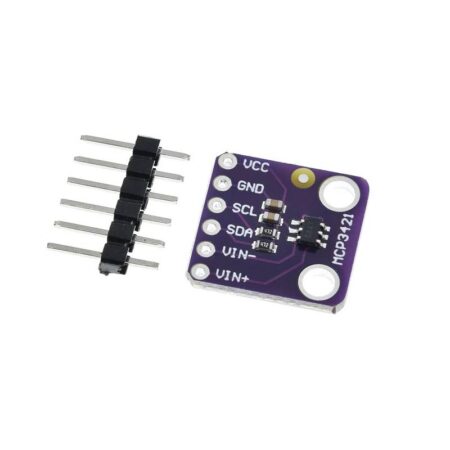
ADS1118 16-Bit I2C 16 AD Converter ADC SPI Communication Module
350.00 EGP
ADS1118 16-Bit I2C 16 AD Converter ADC SPI Communication Module
SKU
ADS1118 ADC 16Bit Mod
SKU SYS
X7586
Availability
Out of stock
Quantities are confirmed after reviewing
your order. Orders are normally prepared
and shipped within 3–5 business days.
Online availability does not necessarily
mean the product is currently available
at the branch.
ADS1118 16-Bit I2C 16 AD Converter ADC SPI Communication Module
Introduction
In this article, we are interfacing an ADS1118 16-bit ADC module with an Arduino. An analog-to-digital converter (ADC) is a device that converts an analog signal, such as the voltage output of a sensor, into a digital representation that a microcontroller can understand and process. An ADC can be used to read and process analog signals on the Arduino, which is a microcontroller.
There are several ADCs available for use with the Arduino, ranging from simple, low-resolution converters to high-precision, high-resolution devices. For this project, we are using ADS1118 16-Bit ADC.
There are just a few basic steps, and no additional hardware is needed for the interface. As a result, the code is simpler to comprehend. Let’s dive in right now and find out more!
What is ADS1118 16-Bit ADC Module?
The ADS1118 is a precise, low-power, 16-bit analog-to-digital converter (ADC). The ADS1118 combines a PGA, voltage reference, oscillator, and temperature sensor. These capabilities, together with a broad power supply range from 2 V to 5.5 V, make the ADS1118 appropriate for power- and space-constrained sensor-measurement applications.
Hardware Components
You will require the following hardware for Interfacing ADS1118 16-Bit ADC Module with Arduino.
S.no
Component
Value
Qty
1.
Arduino UNO
–
1
2.
Converter Module
ADS1118
1
3.
Ceramic Capacitor
100NF
1
4.
Resistor 1/4W
10KΩ
1
5.
Breadboard
–
1
6.
Jumper Wires
–
1
Steps Interfacing ADS1118 16-Bit ADC Module with Arduino
Get all the required components that are listed above in the hardware section. Once you have them all, follow the given steps:
Schematic
Make connections according to the circuit diagram given below.
Installing Arduino IDE
First, you need to install Arduino IDE Software from its official website Arduino. Here is a simple step-by-step guide on “How to install Arduino IDE“.
Installing Libraries
Before you start uploading a code, download and unzip the following libraries at /Progam Files(x86)/Arduino/Libraries (default), in order to use the sensor with the Arduino board. Here is a simple step-by-step guide on “How to Add Libraries in Arduino IDE“.
Once you are done with the circuit wiring and the uploading of code, it is now time to test the circuit. Open the serial monitor to observe the readings.
Working Explanation
Let’s look into the program to understand the coding:
The code is set up first by using an ADS1118 analog-to-digital converter (ADC) library.
In the void setup() function, the ADC is first initialized by calling the begin() function of the ADS1118 object. Then, various settings of the ADC are modified using the setter functions provided by the ADS1118 class. These setter functions allow you to set the sampling rate, input selection, full-scale range, operating mode, and the pull-up resistor on the Dout pin.
In the void loop() function, the ADC measures the temperature and the voltage on the selected input. The getTemperature() method returns the temperature in Celsius, while the getMilliVolts() function returns the voltage in millivolts. We also specify the input to be measured by passing the input selection as an argument to the getMilliVolts() function.
Finally, the code has a delay of 200 milliseconds between each measurement.
Applications
Automation and process control
Temperature measurement, etc
Conclusion.
We hope you have found this Interfacing ADS1118 16-Bit ADC Circuit very useful. If you feel any difficulty in making it feel free to ask anything in the comment section.
The Generic brand at Micro Ohm brings you a wide selection of products that offer excellent value for money. While these items may not carry a specific brand name, they are carefully sourced and selected to meet high-quality standards. Our Generic products are designed to provide reliable performance and durability at affordable prices, making them the perfect choice for budget-conscious makers, hobbyists, and engineers. At Micro Ohm, we ensure that every Generic product offers the best quality for the price you pay. From components and accessories to tools and electronics, our Generic range delivers great performance without compromising on quality. Whether you’re building a prototype, working on DIY projects, or just need cost-effective solutions, our Generic products will meet your needs and exceed your expectations. Explore the Generic category today and get reliable, budget-friendly options for all your projects.
Reviews
There are no reviews yet.
Only logged in customers who have purchased this product may leave a review.














Reviews
There are no reviews yet.